In this help article, we will be going over the steps on how you can add a single patron to the system, set up their permissions and then get them logged in!
1. Click ![]() -> Patron ->Patron Management.
-> Patron ->Patron Management.

2. Click  from the toolbar at the bottom of the window.
3. Enter the details for the new user into the relevant fields. Remember to click the Tabs at the top of the window to reveal additional fields.

N.B. SmartSuite will automatically apply loan limits for the user after you have selected a classgrade and saved the profile. There is no need for you to manually create the loan limits for the new user.
4. Make sure at least the following fields are populated:
- Barcode
- First Name
- Surname
- Homeroom
- Classification
5. Select the appropriate User Role.

User Role meanings.
Administrator- Grants Full Access
Cataloguer- Grants access to the Catalogue features
CirculationDesk- Grants access to Circulation
Librarian- Grants Full Access
PatronEditor- Grants access to Patron Management
Report Manager - Grants full access to the Reports module
Reservation Manager - Grants full access to the reservation widget
Self Circulation- Grants access to the Self Circulation page
Student- Grants no special access
Teacher- Grants access to TV4Education. (Teachers should only have this role)
6. Make sure the patron has an email address and 'Change password on next login' is toggled to yes.

7. Click  .
.
8. Select  from the toolbar at the bottom of the window.
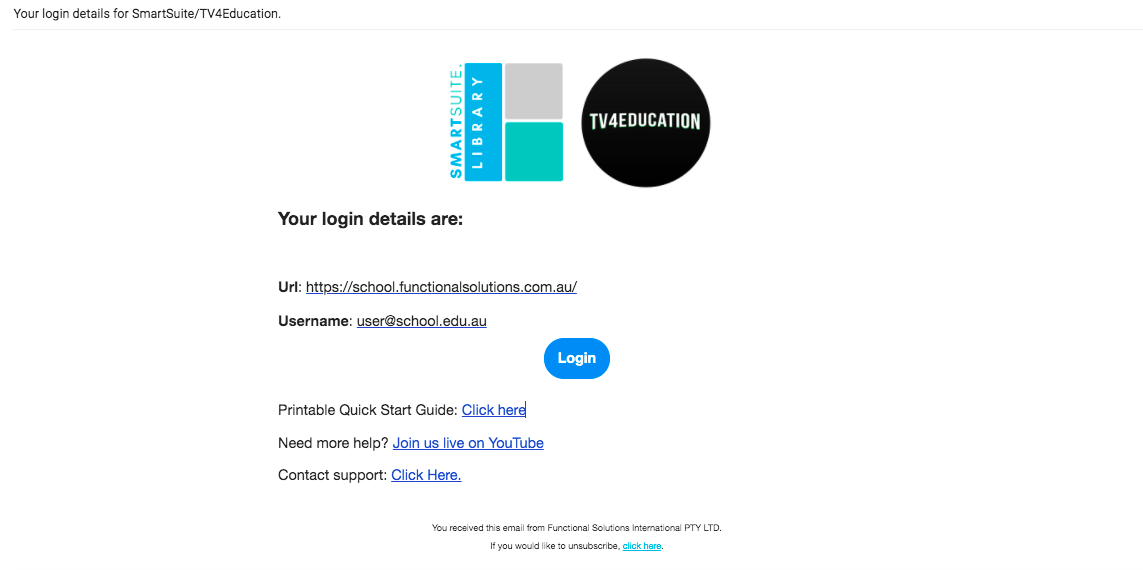
9. The following email will now be sent to your user:


Comments
0 comments
Please sign in to leave a comment.